Unboxing your first iPhone 18 is exciting, but getting started can feel overwhelming if you are new to iOS. This iPhone 18 quick start guide walks you through every step, from turning on the device for the first time to configuring the settings you need for daily use.
Whether you are switching from Android or upgrading from an older iPhone, these iPhone 18 manual will have you up and running in minutes.
What Is New on iPhone 18 Quick Start Guide for Beginners
Before you start tapping through setup screens, it helps to know what makes the iPhone 18 different from earlier models. Based on Apple’s expected 2026 lineup, the iPhone 18 Pro and Pro Max will introduce an all-screen design, a variable-aperture camera system for better photos in any light, and significantly improved battery life.
The standard iPhone 18 may follow in early 2027, while a foldable iPhone could debut alongside the Pro series.
For first-time users, the biggest practical change is the refined setup process running on iOS 27. Apple continues to streamline onboarding, so you will see fewer taps and smarter data-transfer suggestions than on older iPhones.
What You Need Before Starting
Preparation prevents frustration. Gather the following items before you power on your new phone:
- Your new iPhone 18 and its included USB-C charging cable
- A stable Wi-Fi network name and password
- Your current device (if transferring data) with at least 50% battery
- Your Apple ID email and password
- Your carrier account details (if installing a physical or eSIM)
Step 1: Turn On and Activate Your iPhone 18
Press and hold the side button on the right edge until the Apple logo appears. If the device does not respond, charge it for fifteen minutes first.
Once powered on, swipe up from the bottom (or follow the on-screen gesture prompt) to begin. Select your language and country.
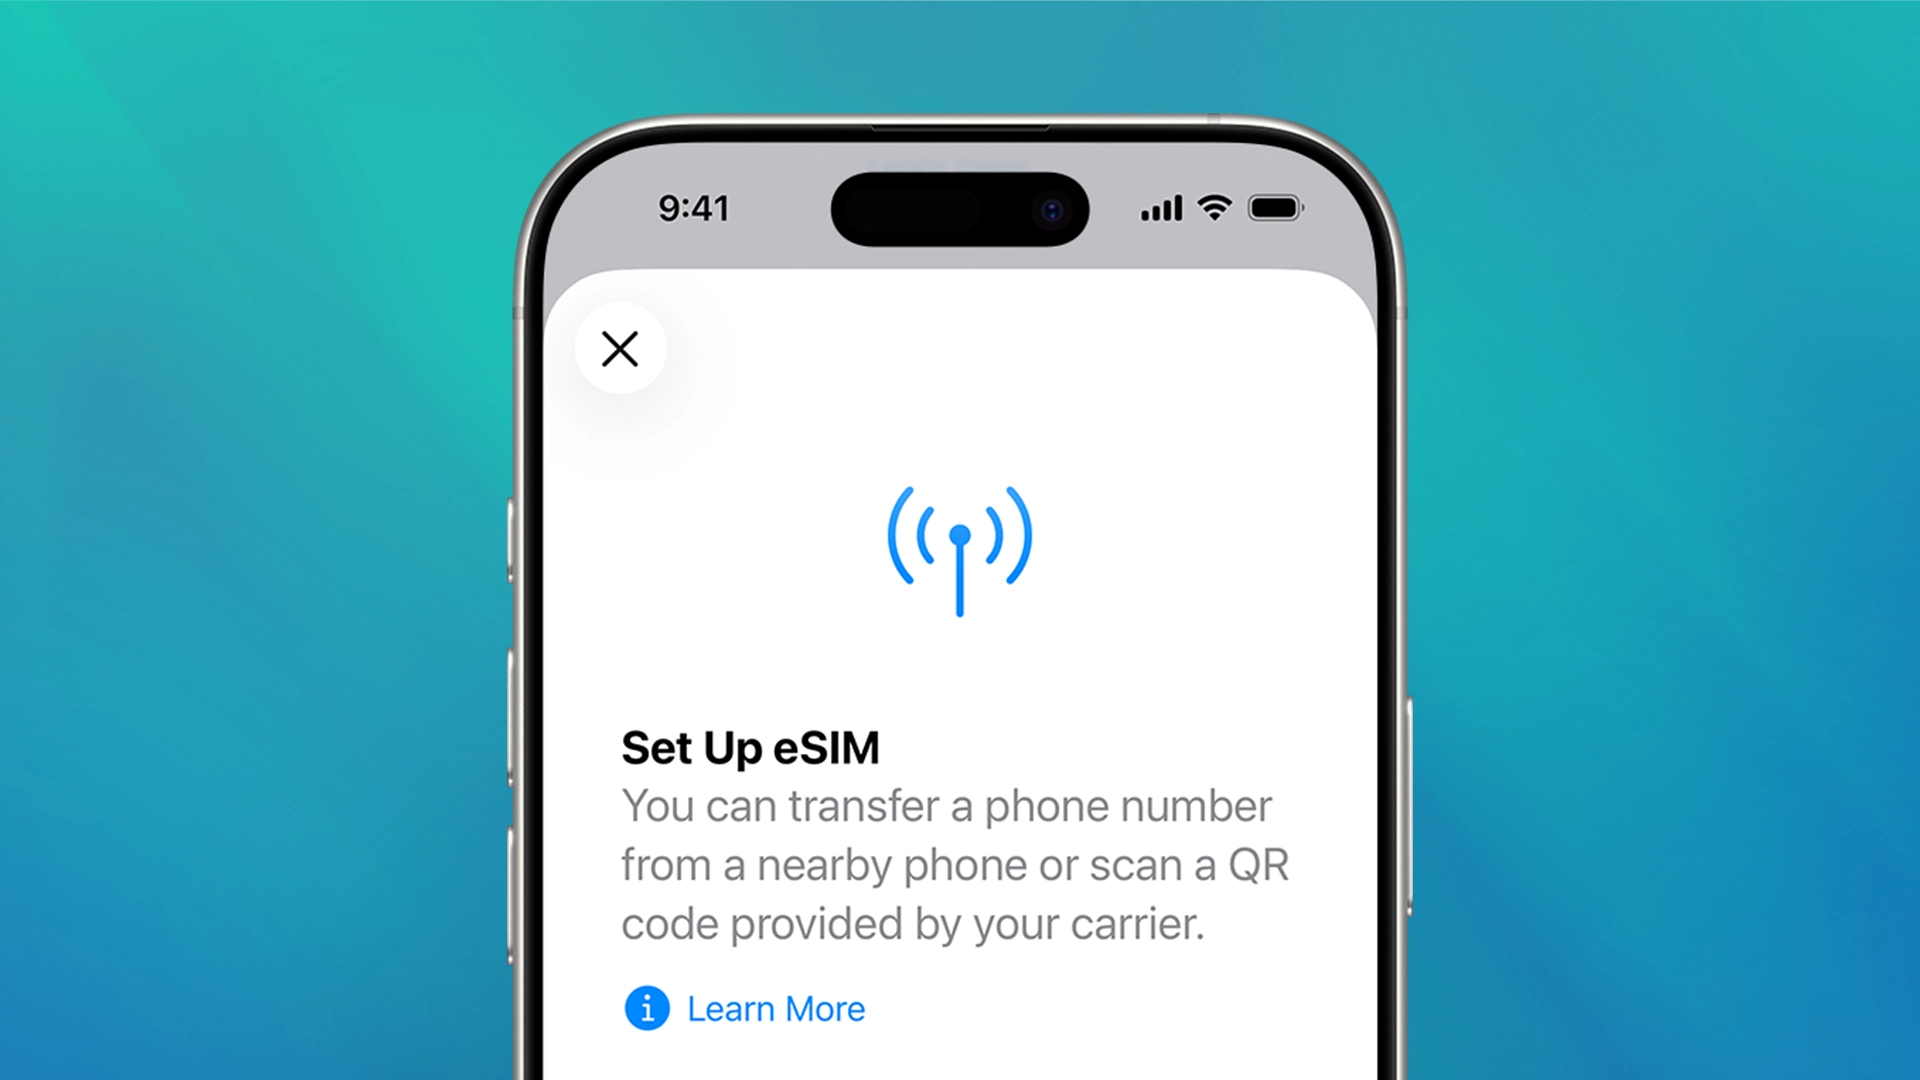
The iPhone 18 will prompt you to insert a SIM or activate an eSIM. If you purchased your phone through a carrier, eSIM activation often happens automatically over Wi-Fi. Otherwise, scan the QR code your carrier provided or enter details manually.
Step 2: Connect to Wi-Fi and Enable Bluetooth
Choose your Wi-Fi network and enter the password. A strong connection is required for activation, software updates, and iCloud sign-in. Keep Bluetooth enabled; you will need it for the next step if you are transferring data from another iPhone or Android device.
Step 3: Transfer Your Data
Apple offers two main ways to move your information. Pick the method that matches your situation.
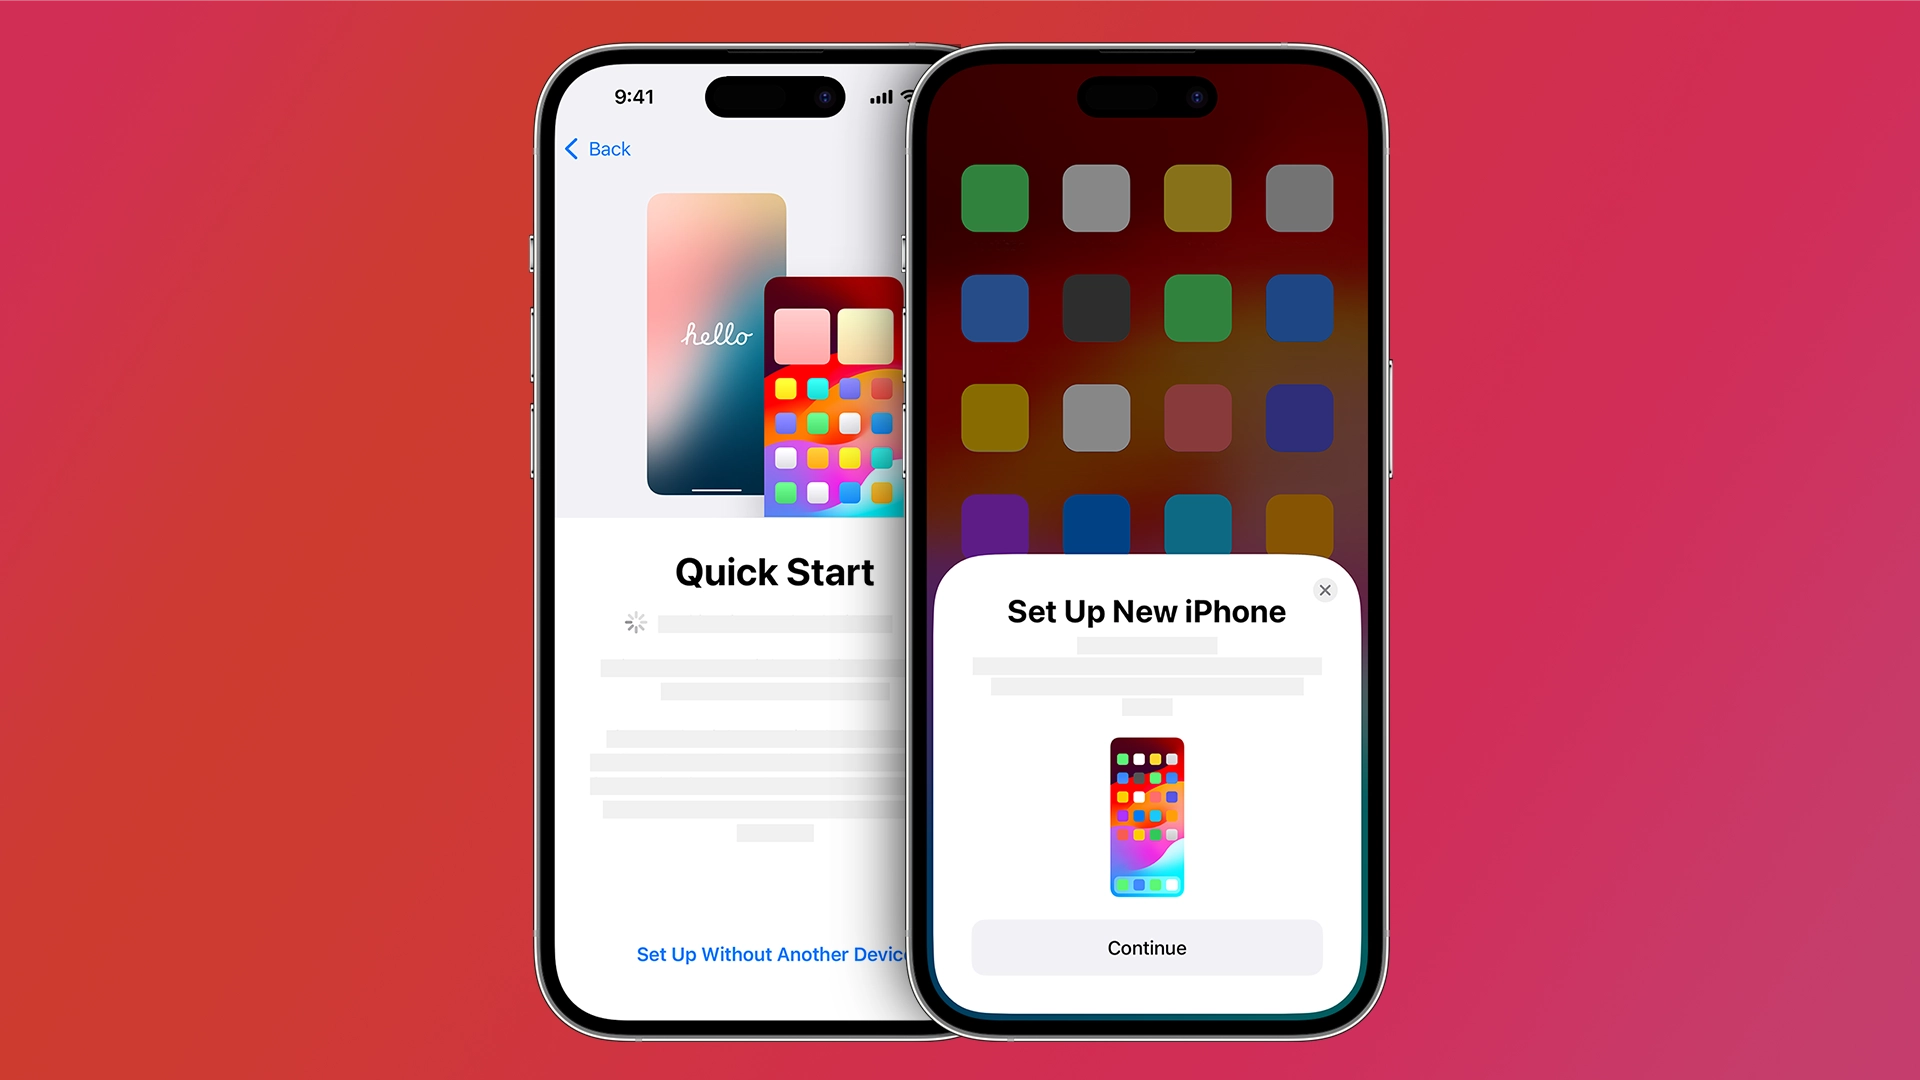
Quick Start (From Another iPhone)
- Place your old iPhone near your iPhone 18. A Quick Start pop-up appears automatically.
- Tap Continue, then use your old device to scan the animation on the new screen.
- Enter your old passcode when prompted and choose Transfer from iPhone.
- Keep both devices plugged into power and close together until the progress bar completes. This can take anywhere from ten minutes to an hour depending on how much data you have.
Move to iOS (From Android)
- Download the Move to iOS app on your Android phone before starting.
- On your iPhone 18, select Move Data from Android during setup.
- Enter the six-digit code displayed on your iPhone into the Android app.
- Select the content you want to transfer—contacts, message history, photos, videos, and bookmarks—and wait for the confirmation.
Set Up as New
If you prefer a clean slate, choose Set Up Manually. You can still download apps and sync photos later via iCloud or App Store purchases.
Step 4: Set Up Face ID and Passcode
The iPhone 18 relies on Face ID for biometric security. Tap Get Started and position your face within the on-screen circle. Slowly rotate your head to complete the first scan, then repeat for the second scan. If you wear glasses, you will have an option to add them for better recognition.
Next, create a six-digit passcode. You can choose a four-digit code or alphanumeric password instead by tapping Passcode Options.
Step 5: Sign In with Your Apple ID
Enter your Apple ID email and password. This account syncs your App Store purchases, iCloud backups, Find My location data, and iMessage history. If you forgot your password, tap Forgot password or don’t have an Apple ID? to recover or create one.
When prompted, review the iCloud terms and decide whether to use Find My iPhone. Leave it enabled; it helps locate your device if lost.
Step 6: Configure iOS 27 Settings for Beginners
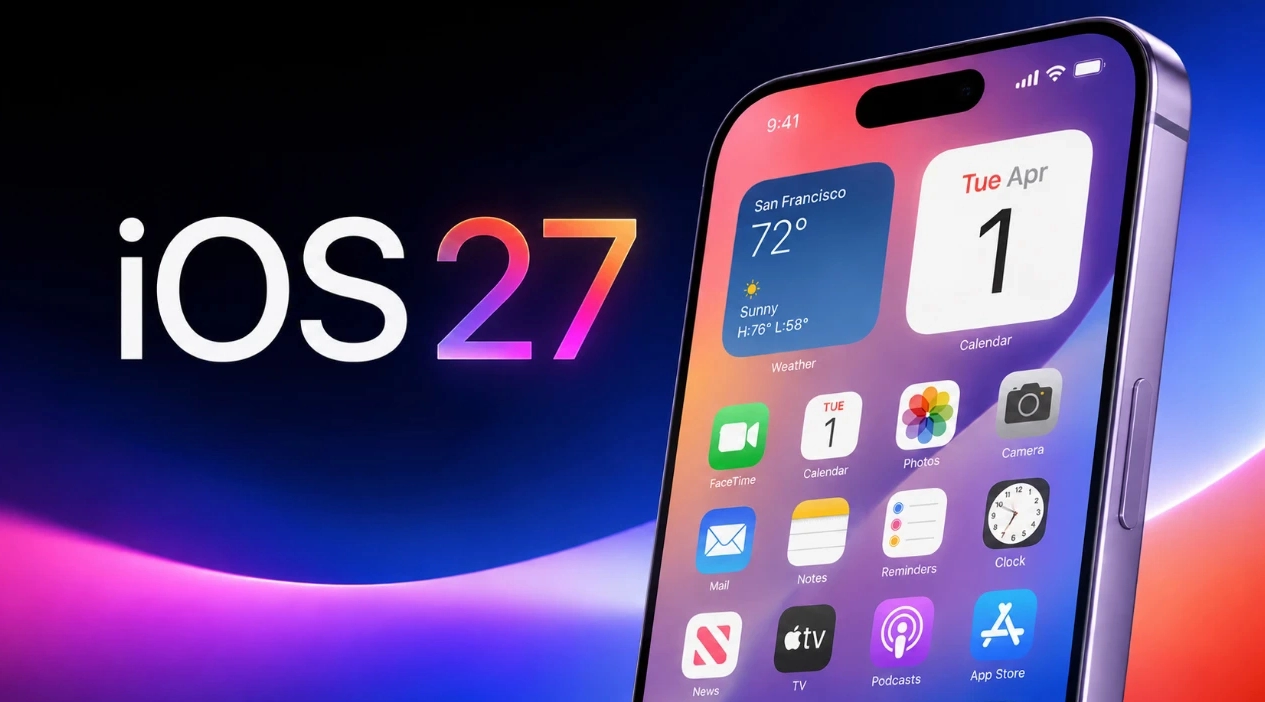
After signing in, iOS 22 presents several preference screens. Here is what each option means and our recommendation for first-time users.
Location Services
Allowing location services lets apps like Maps, Weather, and Find My function accurately. You can leave the master switch on and manage individual app permissions later in Settings > Privacy & Security > Location Services.
Analytics and App Tracking
Apple will ask if you want to share analytics and allow apps to request tracking across other companies’ apps and websites. Most beginners should choose Don’t Share and Ask App Not to Track for stronger privacy.
Display Options
The iPhone 18 is expected to ship with an always-on display and refined ProMotion technology. During setup, you can choose light or dark mode. Dark mode reduces eye strain in low light and slightly improves battery life on OLED screens.
iCloud Keychain and Screen Time
Enable iCloud Keychain to securely save passwords and credit cards across your Apple devices. Enable Screen Time if you want weekly reports on usage and the ability to set app limits.
Step 7: Learn Essential iPhone 18 Gestures
Navigation on the iPhone 18 remains gesture-based. Memorize these four core gestures:
- Go Home: Swipe up from the thin horizontal bar at the bottom edge
- Switch Apps: Swipe up and hold briefly, then swipe left or right to browse open apps
- Quick App Switcher: Swipe left or right along the bottom edge to jump between recent apps
- Open Control Center: Swipe down from the top-right corner
- Open Notification Center: Swipe down from the center-top of the screen
Step 8: Install Essential Apps and Update iOS
Open the App Store and download the apps you use most. Because the iPhone 18 is launching with early iOS 22 builds, check for a software update immediately.
Go to Settings > General > Software Update. Installing the latest version ensures you have the newest security patches and camera improvements, including any variable-aperture camera optimizations.
Step 9: Explore the Camera and New Features
The iPhone 18 camera system is a major upgrade for beginners coming from older phones. Open the Camera app and notice the controls:
- Photo: Standard point-and-shoot with automatic variable aperture for better depth
- Video: Tap the record button or hold the shutter in Photo mode
- Cinematic Mode: Blurs the background behind your subject for professional-looking footage
- Action Mode: Stabilizes video when you are moving
Take a few test shots indoors and outdoors. The variable aperture automatically adjusts to bright sunlight or dim rooms, so you do not need manual settings.
Step 10: Back Up Your iPhone 18
Now that everything is configured, set up automatic backups so you never lose your data. The easiest method for beginners is iCloud Backup. Go to Settings > [Your Name] > iCloud > iCloud Backup and toggle it on. Your phone will back up each night while charging and connected to Wi-Fi.
If you prefer local backups, connect your iPhone 18 to a Mac or Windows PC and use Finder or iTunes.
Wrapping up, getting the iPhone 18 Quick Start Guide is one of the easiest ways to feel confident with your new device, even if you’re just starting out.
Whether you download the digital guide, use the built-in tips on your iPhone, or bookmark this tutorial for later, you now have everything you need to find clear, step-by-step instructions any time you get stuck. Keep exploring the features at your own pace, and don’t hesitate to revisit this guide whenever you want to learn something new on your iPhone 18.